Sunday, March 25, 2012

Fancy fish for the not-so-fancy


Cooking fish was not one of my favorite things to do. It never came out how I wanted it to. So I avoided it. I would always order fish at restaurants instead. I could never get my own fish to taste like it did at those places. I figured they had some special chef secrets about fish that I would never know -- and I was partially right-- there are secrets! And my lovely husband got me a ticket to a cooking class all about fish, so that I (and/or he) could finally enjoy fish at home, and now that I have tried and tested what I learned, I am going to share those secrets with you! Today, I'm going to talk about Fish "En Papillote." Oooo, sounds fancy right? It looks fancy and tastes fancy, but it's so easy to do! It literally means "in a package," which is made out of foil or parchment paper in this case (I use the paper in the pictures, but no worries if you only have foil, it will actually be easier to fold).

This is all about the prep work; the fish cooks in 12 minutes flat, so all the work is on the front end. There are three pieces to the dish: 1) the fish 2) the vegetables and 3) the pesto. You have a lot of flexibility to what you put in the recipe, so you can make lots of different variations and not get bored. I'll give you a sample of what I made, and you can feel free to change it up.

Cod (or haddock, or halibut, or even salmon) En Papillote


4 5-oz pieces of fish
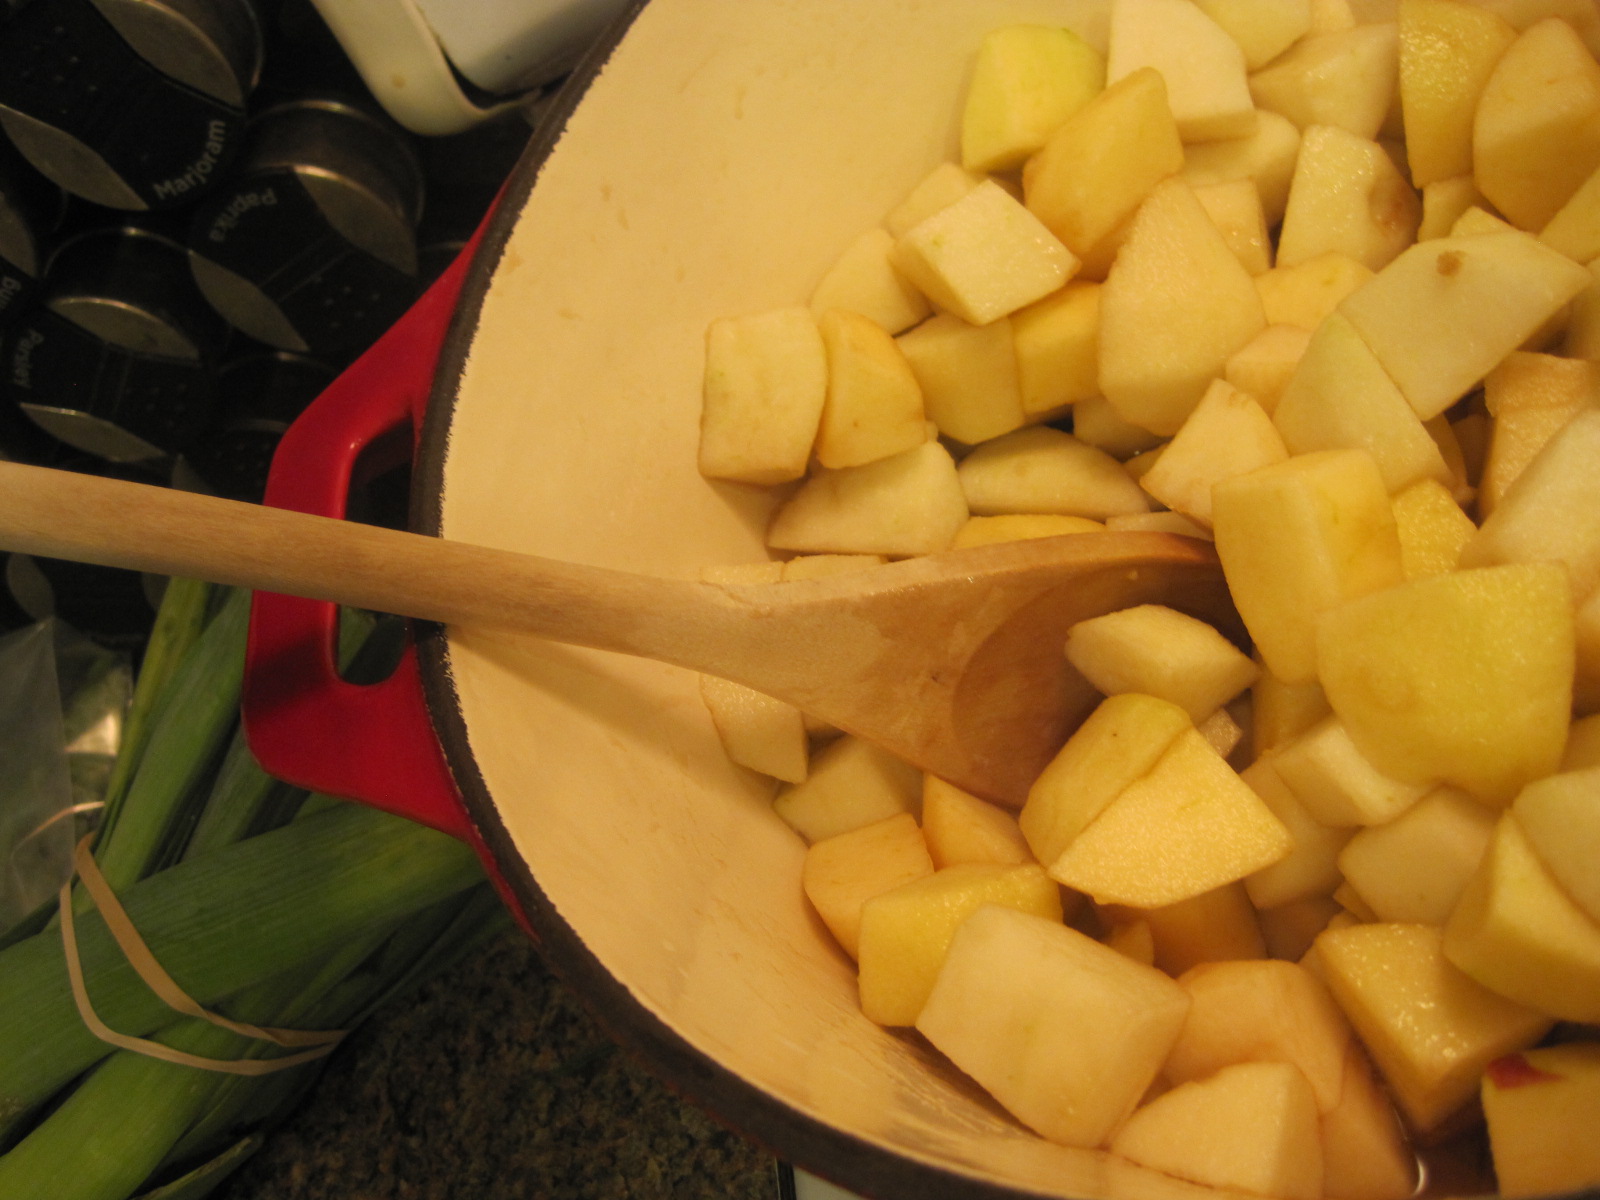
a few small potatoes, sliced thinly (about 1/8 of an inch)
half an onion, also cut 1/8 of an inch
a dozen brussels sprouts (or zucchini, or asparagus), cut in quarters
Olive oil
Salt and Pepper to your taste

and for the pesto
1 bunch of parsley (take all the stems out if you can)
1 clove of garlic
1 handful of any kind of nuts you like (i used walnuts)
Olive oil
Salt and Pepper to your taste

For the pesto, just whirr all those ingredients, except the oil, together in a food processor until they are all mixed and chopped up a bit (I suggest chopping the garlic clove into a few pieces first or you'll get big chunks.) A few pulses will to the trick. Then put the switch to on (so it automatically goes without you having to hold it), and add a little olive oil drizzle into the top while the machine is running. Once the mixture holds together like a paste, stop the whirring! And taste it, to make sure it tastes good. The garlic will be a little strong at this point because it is raw, but after it is cooked on the fish it will taste great. Set this aside.

And now for the fish - and the tricks! The first thing you want to do is make sure your fish pieces are all about the same size, because that way they will cook at the same rate. I know what you are thinking, one part of the fish is way skinnier because it has the tail end, which is always small. Not to worry! Just fold this part under the rest of a piece of fish to mimic the thickness of the other pieces. It definitely works (I was skeptical too). Put salt and pepper on your fish filets, and let them rest for a few minutes while you prepare the veggies.

The vegetables can simply be whatever you like to eat and whatever you think will go with your fish. However, there are a few rules: 1. they must be thinly sliced and 2. they must be something that is not too easy to overcook (ie, snow peas) because they will be steaming for 12 minutes or so. Snap peas might be ok, but the thin snow ones will get soggy. I have used: cherry tomatoes sliced in half, zucchini, onions, potatoes, brussels sprouts, and broccoli and all have been successful, so if you like any of those, go for it.

Once you cut the veggies, toss them in a bowl with a few tablespoons (2-3) of olive oil and salt and pepper to your taste.

Now you are ready for the assembly!

Step 1: Cut your parchment paper or foil into the shape of a very big heart. Do this by the "valentine method" of folding the paper over in half, and cutting a half heart into it (a moon will work too). You will want to err on the side of BIG, because too small of a heart and you won't be able to fit the fish in there.

Step 2: open the heart with the folded side facing away from you, and lay a few vegetables on the half of the heart that is on the countertop (toward the big end, not the pointy end). Place one fish fillet on top of the veggies, and then top that with some of your pesto (1 tbsp or so). Like so...


Step 3: Now comes the crafty part. Fold the heart back over so it is in half like it was when you cut it (or just let it drop back down on top of the fish if you've been holding that half up while you were assembling it) and begin crimping the paper from the pointy bottom end of the heart. Fold the parchment over itself a little, then fold that part a little over the next piece, creasing with your finger as you go. You want to make sure you create a seal, so as long as you are able to join the two sides together, you don't have to worry about it being too big or wonky looking. That is the fun of it. See below:


Step 4: Put all the "papillotes" onto a baking sheet and bake at 400 degrees for exactly 12 minutes. Make sure you put a timer on.

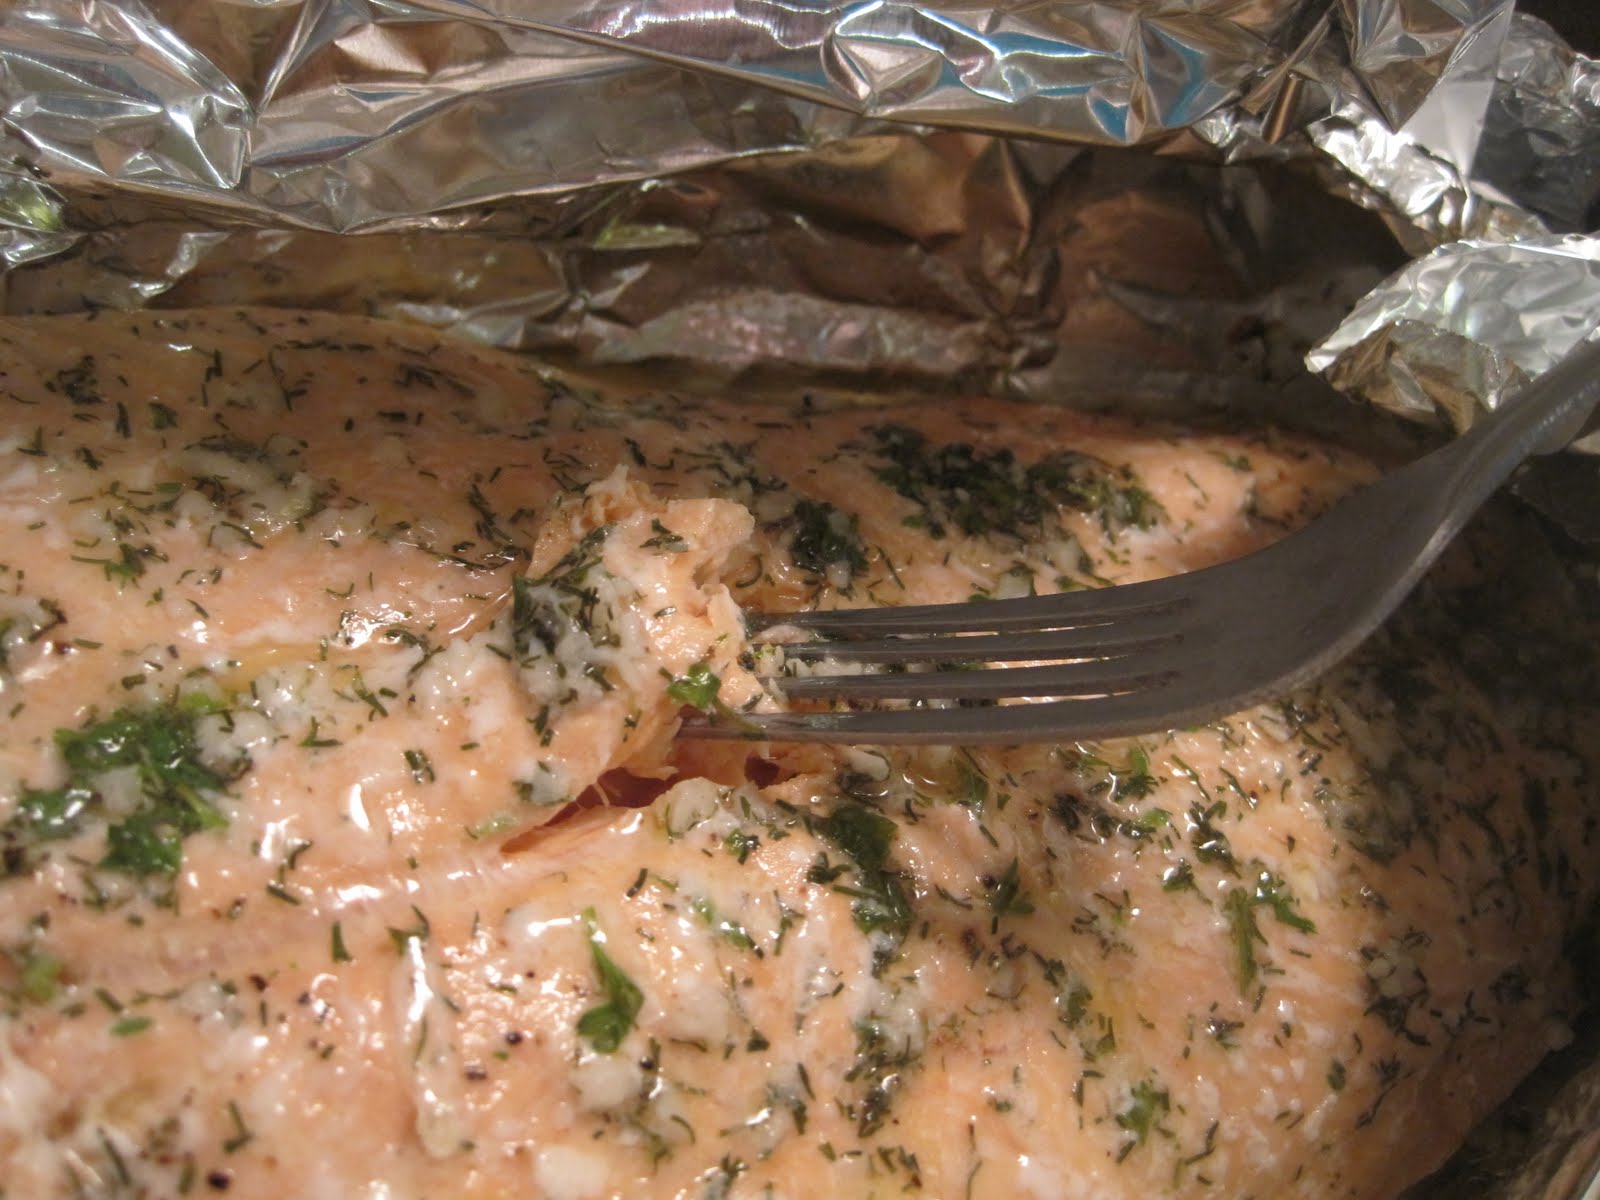
Step 5: Take out of the oven and serve, exactly as is, in the pouch. It is really fun to open and eat out of, and makes clean up a lot easier.

Go now into the world of well-cooked fish; you will be so excited once you try this and realize how easy and delicious it is. Restaurant quality at home -- finally!

Saturday, September 24, 2011

Cinnamon Applesauce


Fall is here! And so is my new blog look. I have been doing a lot of behind the scenes work lately, so here's to a new season and a "new and improved" blog. Today I have a simple but delicious recipe for you for applesauce. My husband and I made our annual trek to Linvilla Orchards and gathered up as many apples as we could carry (well, actually twice as much as that since our apple wagon tipped over onto the concrete and we had to start over.) I love apples on their own, and in pies and crisps of course. But this year I wanted something new. I've made this applesauce a few times with my own tweaks that I'll share with you, and I think you'll agree that it really tastes just like apple pie, without the crust calories or fat (a bonus really, since I'd eat this whether it was good for me or not). You can even put a little whipped cream on it like I do -- especially when it's still warm.

Here it is:

Cinnamon Applesauce

10 Apples, a variety of kinds that you like (I used macoun, red delicious and golden delicious), peeled, and chopped into 1-inchish cubes
1 cup water
1/3 cup of brown sugar
1/2 tsp of vanilla
1/2 tsp of cinnamon
a pinch of nutmeg
lemon juice (if desired)


Get a big sauce pot and throw in the apples. Add the water, the brown sugar, and the vanilla, and stir it up so the brown sugar is well blended throughout. Turn the heat on to high, but leave the cover off, and stir occasionally while you are waiting for it to boil. Once it has begun to boil, turn the heat down to medium low, and put the cover on. Keep it on for 20-25 minutes, and by then the apples should be soft (like you could mash them with a fork if you wanted to... or you could actually do this with one piece just to be sure). Then take the cover off, and crank the heat to high, letting all the water boil off. You might not want to leave this alone for too long, or the apples could get scorched (yep, happened here). It doesn't take long. Turn off the pot and remove from heat once the water is gone.

Once this is done, you can go for the super easy route, or the hands on route. I take the apples, put them in the food processor, and grind them up to the consistency I want (not more than 7 seconds with the blade on). Some people like it more chunky, in which case, just pulse it until you see what you like. If you don't have a food processor, that's ok! Just mash them with a fork, or a potato masher, or whatever you have on hand.

Put the mashed apples in a big bowl, and stir in the cinnamon and nutmeg, and a squeeze of lemon juice if you like that. Stir to incorporate, and you're all done! Just let it cool (it will be very very hot and I would not recommend eating it for at least an hour--by then it will be warm). Let it reach room temperature before putting it into the fridge to chill all the way. It will keep for 3 days in the fridge, but honestly, it probably won't last that long, because it is so delicious! But the good news is, you can always make it again pretty easily.

Happy fall everyone!

Friday, July 22, 2011

Tea


Hello everyone! I know you are probably upset with me for not posting frequently enough, and I apologize. I promise some yummy summer dishes coming soon. In the meantime, I thought I would enlighten you with some tea knowledge. Though right now it is 102 degrees out, on many not-so-sweltering summer days I like to go to tea with my mom, or anyone else who is willing. I love tea in all seasons. But whenever I go out and order a pot of tea I end up feeling really irritated because the tea thrown in the pot which makes it over-brew and taste bad after a few minutes. This happens so frequently (even in tea specialty places) that I got up the guts to ask Harold McGee about it in the New York Times.

Here's the exchange:
Q.

I was wondering why restaurants seem to think it is a good idea to leave tea leaves/bags in their tea for long periods of time after brewing is finished. I was taught that the tea should be removed from the water after its optimal brewing time (four to five minutes usually) so that the tea doesn’t get overly strong and bitter. This preserves the taste of tea, and doesn’t ruin what’s left in the pot for the second cup. However, almost every time I go to a restaurant and order a pot, the leaves are dumped in there, or the bag is solidly wound around the lid so I can’t get it out, which means I get one really good cup, and the rest I can’t even drink. Why is this the norm? Am I just in the wrong?

A.

You’re right, the longer you leave tea leaves in the tea after optimal brewing, the more bitter and tannic it gets. What you describe is unfortunately common brewing malpractice.


YES! I knew it! So please, don't do this to yourself at home; I promise a much tastier tea for you! Maybe restaurants will soon follow our lead.

Thursday, March 17, 2011

Chicken Pot Pie, Simplified


Well, promises, promises. I know I promised I'd post more this year... and now it's been over two months! I guess I underestimated this working full time and going to school thing. Oh well. But I am still cooking! And finally, I remembered to take some pictures of what I made.

Today it's a variation on chicken pot pie. Usually, making chicken pot pie is the biggest hassle in the world. You have to make the crusts, then you have to make the roux that binds everything together... not only is it a lot of time, but it's a lot of butter and other stuff that's not that great for you. So, to lighten it up and make it a weeknight dish, I make chicken cobbler. I got the base recipe from Mark Bittman at the New York Times. I basically vary the ingredients depending on what I have available for veggies and proteins, and so far it's worked with everything. I especially like parsnips in it!

Chicken Cobbler


For contents:

A few tablespoons of olive oil
1 onion, chopped into longer strips (see The Great Pasta Dish (Jan '10) for cutting tips)
2 cups quartered button mushrooms
1 1/2 cups chicken broth
1 tsp of dried rosemary (or one fresh sprig
4-5 diced red bliss potatoes
2 medium carrots, cut into coins
2 boneless chicken breasts, cut into bite size pieces
1 cup frozen peas
2 tablespoons cornstarch

For topping:

1 cup flour
3/4 teaspoon baking powder
1/8 teaspoon baking soda
1/4 teaspoon salt
2 to 3 tablespoons unsalted butter, cut into bits
1 egg
1/2 cup buttermilk (Note: I never have buttermilk, and it is unnecessary to buy it for this recipe. Just warm a little milk in the microwave so it gets lukewarm. Then add a teaspoon of vinegar, stir it and wait five minutes. It will get chunky, and that's what you want.)

The trick to this recipe is just fortitude! It may look strange at certain points, but trust yourself! (And check with the pictures, too, if that helps.)

Preheat your oven to 400 degrees. Take a deep skillet (a lot of ingredients are going in there) and put a few tablespoons of olive oil in; set heat on medium. Add the onion, sprinkle with salt and pepper, and cook, stirring occasionally, until softened, about 5 minutes. Then add mushrooms and cook until liquid has released and evaporated, about 8 to 10 minutes.

Add chicken broth and rosemary; bring to a boil, and let bubble for a minute or two, then add carrots, potatoes, and chicken and reduce heat so it simmers. This is the part where it looks wrong, but is actually right. (See photo below)I always wonder if the chicken will ever get cooked like that, but it does.


Cook until carrots are almost tender and chicken is cooked through, 8 to 10 minutes. Add more salt and pepper, then add peas and cook for about 30 seconds until the peas turn a bright green. Then just take a little of the broth (a few tablespoons), and whisk it with the cornstarch in a separate dish. Cornstarch is a thickener, and it stands in for the roux that usually is made. (This is also what ooblek is made of, if anyone cares to know). This is what will make your ingredients come together into a cobbler instead of a soup, which is what they probably look like now. Take that mixture of cornstarch and water, and add it back into your skillet. Mix it around for a few seconds until you can see it start to thicken, like so:


Then put the contents of the skillet into a casserole dish, and let it sit while you make the topping.

Put flour in a food processor with the baking powder, baking soda and salt. Add butter and process until mixture resembles small balls; don't grind it into thin air! The point is that the butter needs to be distributed throughout the mixture, but not disintegrated. Then,transfer mixture to a bowl and mix in "buttermilk" and egg until it just comes together; it should be sticky, and look pretty gross, like so:


In fact, when I looked back at these pictures, I said to myself, ew, what is that a picture of!? And then I remembered. So don't worry, it will come out delicious. Drop spoonfuls of the goopy batter on top of vegetables and chicken and smooth with a knife, covering as much surface area as possible but leaving a few gaps for steam to escape. Bake for 35 to 45 minutes until golden on top and bubbly underneath. Scoop out into bowls (better this way, so it doesn't run all over your plate) and you're ready to eat!

This is a great dish for those April Shower days, (or April Snow days like my hometown is getting tomorrow), and it's super flexible, so you can add your own personal touch to it, depending on what veggies you like.

Enjoy!

Sunday, January 23, 2011

Simple Salmon


Hello everyone. Sorry it has been so long since I've posted. Things have been a little crazy around here between the holidays and unexpected hospital visits, the blog was put on the back burner (hardy har). But today marks the start of a new year for the Honest Chef; I hope to keep up with my posts.

My husband and I have decided that this year we are going to have vegetarian one night a week, and fish another night of the week, so I had to pull out some new recipes. Fish is something that I used to hate making; I actually once caused my best friend to choke on a piece of fish because I encrusted it in about an inch of Montreal Chicken Seasoning (don't even ask why I'd be using chicken seasoning on fish). But I learned that fish doesn't really need much to make its flavor come out. The recipe I'm about to show you is super simple, and very tasty. My mom would cook this a few times a month when I was growing up and I always loved it; especially the part where she would open the foil pouch and unleash the delicious aroma. The clean up is also super easy since you can just toss the foil in the trash! It's a great weeknight dish, and you can do this with a lot of different fish (if you prefer swordfish that works, as well as other thick fish; don't try a thin white fish though).

Simple Salmon in Foil

1 large filet of salmon, or several smaller cuts of the filet
1 large clove of garlic, minced
1 tsp of dill (dried) [if you want to use fresh, use about half of that)
Juice of half a lemon
1 1/2-2 Tbsp of olive oil
1/2 tsp salt
1/2 tsp of pepper
(reserve the other half of the lemon for serving)
1 large sheet of tin foil

Preheat the oven to 350. Mix together the garlic, dill lemon juice, olive oil and salt and pepper in a small bowel (use a whisk to incorporate everything well). Take a cookie sheet and put your large sheet of tin foil on top of it. Spray the foil with Pam, or drizzle some olive oil in the center, and lay the salmon skin side down on it. Pour the oil/garlic/dill/lemon mixture you previously made over the top, and spread around the entire top of the fish.


You want to let it sit in this marinade for at least five minutes, so that the fish can soak up some of the flavor. (I usually start making the rice or other side dish while it is sitting). After 5 minutes, wrap up the foil over the salmon, leaving a little space between the top of the foil and the salmon, so it has room to steam and breathe (see below).


Place the sheet into the oven in on the middle rack. The time it takes to cook your salmon has to do with the thickness of it. Typically it will take about 15-20 minutes to cook the filet, but there is a simple way to test if the fish is done... by checking on it with the fork test. When fish is done, it will "flake easily with a fork." I have seen this phrase a thousand times in cookbooks, and it seems confusing. It's actually not though. Open the fish up, and take a fork to the thickest part of the fish. Poke it in, and turn the fork; if it flakes up and the color is even, it's ready!


You'll want to check it first at about 10 minutes, then every five minutes afterward to make sure that it doesn't overcook, which can be less than tasty. Once you're satisfied with the doneness, just open up the foil, cut with a knife into portions, and serve!

I hope you try this at home so you can see how easy, and how delicious fish can be. And with such a quick clean up, maybe it will become your own resolution to eat more fish!

Tuesday, November 23, 2010

Happy Thanksgiving!

Happy Thanksgiving blog-readers!

Hope you have a wonderful day. I will be learning new tricks in the kitchen, and hopefully sharing them with you once I've worked the kinks out of them.

Eat well and remember to thank your chef, whoever it may be!

Thursday, November 18, 2010

Sloppy Joes (not from a can)


I am not here to knock Manwich in a can. It was that stuff that first turned me on to the greatness that is Sloppy Joes. Sloppy Joes are one of two things from my childhood visits to the neighbors' that I seriously thought (and still think) were (and are) some of the best things ever created to ingest, those being Sloppy Joes and Dr. Pepper. Every time I eat a Manwich or drink a Dr. P I am instantly transported to the neighbors' living room, where I frequently sat on their nice leather couch watching Price is Right. Man, that was the life. (Hi Rebecca!)

But anyway. I wanted to learn how to make Sloppy Joes, and I didn't want to have to go hunt for a can of Manwich at the very rare grocery stores that carry labels around here every time I want them. So I found a few recipes, and streamlined them all. And I finally perfected "my recipe," so I want to share it with you. It includes ingredients I always keep in my pantry, so it's pretty perfect for that cold night that you want something easy to make that will keep you warm. Kind of like tonight actually. Too bad I already had Sloppy Joes three days ago. Sigh.

Un-Canned Sloppy Joes

1-1 and a 1/2 lbs ground turkey (or beef if you can tell the difference)
A little olive oil
1 small diced onion
2 cloves of minced garlic
1/2 c ketchup
2 c tomato sauce (1 can)
1 Tbsp Worcestershire Sauce
1 Tbsp Red Wine Vinegar
2 Tbsp Brown Sugar
1/2 tsp of dried thyme
A pinch of cayenne pepper or chili powder
Salt and black pepper
plus
6 hamburger buns, toasted


You'll want a deep skillet for this, because it will need to hold all of the delicious Sloppy Joe Sauce as well as the turkey. First, brown the turkey in olive oil. You should use a wooden spoon or something hard to break it up as it cooks. Once it is cooked through, and all the liquid is cooked off (if there is still liquid and it's cooked through, you can drain the meat; this step will be necessary if you use beef) add the onions and garlic and cook for a minute or two. Turn heat down to low and add all the rest of ingredients, minus the salt and pepper. Stir everything all together and leave heat on low, so that the liquid comes to a simmer. Let simmer for about 20 minutes, stirring occasionally to make sure the heat is spread evenly. It should look like this:

Turn your oven to 350, put buns on a cookie sheet, and toast them up (about 5-7 minutes should do the trick). After the 20 minutes of simmering, taste the Sloppy Joes. If the mixture tastes vinegary still, leave to simmer another five minutes. Once the vinegar taste is gone, add salt and pepper to your liking. I usually put a few shakes of pepper, and 1/2 tsp of salt to counter the sweetness. Scoop onto buns and serve (don't forget napkins)!

Just as easy as using a can I think. The only trick is making sure the vinegar cooks off, so taste it! It's always a good rule with slow cooking things like this. Oh, and also, don't leave your buns to burn in the oven. Believe me, burnt buns do not work well with Sloppy Joes. I've tried it. Enjoy!